Kitchen Renovation Part Three
Okay, we are in the beginning of the renovation phase for our client’s kitchen. We have the drawings completed and they have been sent out to contractors for quotes. We know what the materials and finishes are going to be. We have the appliances on order and we have selected the contractor that we would like to use and we have scheduled the work. If you haven’t checked out Part one and Part two of this renovation, you can see them here.
Getting The Client’s Home Ready
Before we can even start the demo of the existing kitchen, we need to empty out the kitchen. Personally, I think this is a great time to take stock of all the items in your pantry, cupboards and drawers and really edit what you have. Do you need 4 non-stick pans all the same size and some are so old you no longer use them? Do you need all the tupperware with no lids? The bags of rice in the back of your pantry from 2010? So, clean out all the cupboards and store out of the way so demo can begin.

Empty the Cupboards
The Messy Middle
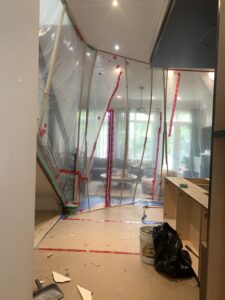
During any renovation no matter how large or small, there will always be the “messy middle”. This is when you are tired of the unorganized mess, you are tired of doing dishes in the laundry room, you are tired of eating out or using the BBQ every night, and you are especially tired of trades and ME being in your house all the time, lol! Keep in mind, this is soooo temporary and this phase does not last long. When using a designer and a contractor that are in sync, all of the items from appliances to cabinet pulls are all on site and ready for installation, so there is a constant move forward to completion.
- Messy Middle
Installation
The Contractor will take care of all the steps in an order that works best for the schedule and trades. They typically have all the plumbing and electrical rough ins first and then any drywall, if needed, all completed and then the cabinets will come in. This is when you can finally visualize the finish line! The kitchen is taking shape and excitement is back!
We can now bring in the appliances and have the template measured for the quartz countertop and backsplash. The installation for that will be about 7-10 days after the measure. All of the cabinet doors are now installed including any interior components such as dividers for spice drawers, knife drawers, docking drawers, tray dividers, etc. The cabinet hardware is installed, decorative lighting is installed, painting or paint touch ups can happen and the backsplash is installed 🙂 Then a major cleanup!!
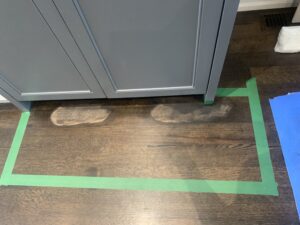
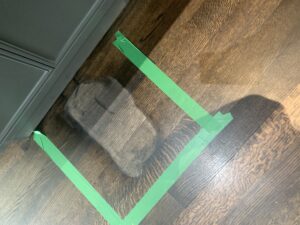
We will complete a walk through with our clients and the contractor to note any deficiencies that need to be corrected and in this case we had some floor touch ups. When we removed the existing kitchen, there were some areas of the hardwood flooring now exposed where it was covered by the cabinets beforehand.
- Floor Touch Ups
So, those were taken care of and some final decorative pieces were purchased to bring into the new AMAZING kitchen!! Here is a peak at the finished kitchen which was featured in the April 2024 Issue of Style at Home Magazine, and you can see more of the images in our portfolio HERE.
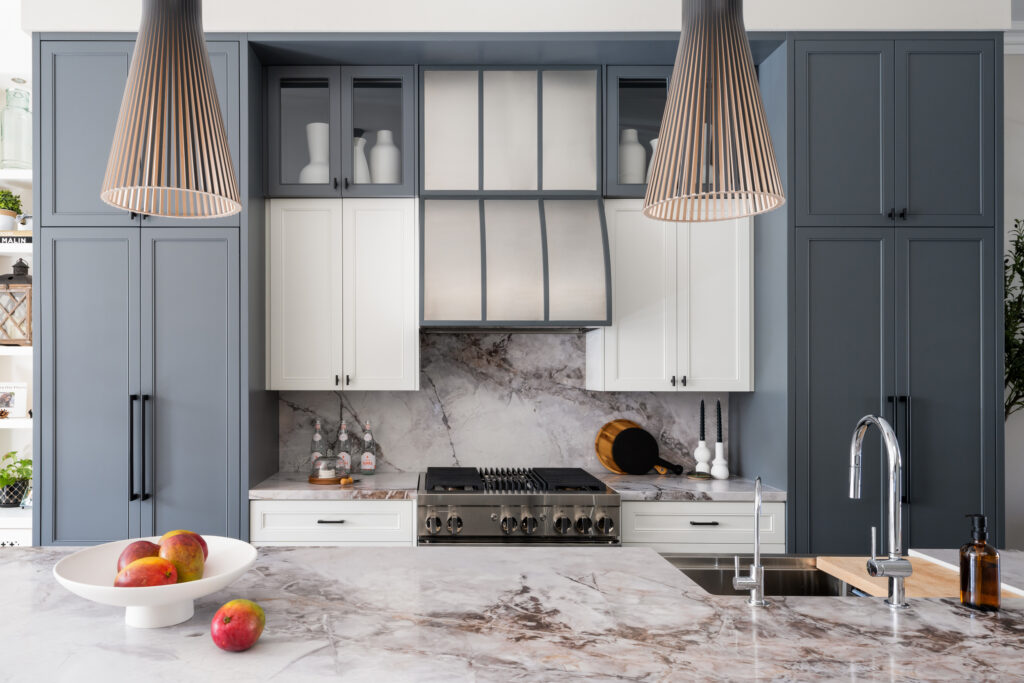
After Image
Hope you enjoyed following along with our latest kitchen renovation project and reach out to us if you are interested in how we can help you with your dream kitchen!



This is a fabulous reno. Saw the only a small part of the finished reveal in the April/May issue of Style at Home but seeing progress pictures and reading about the whole process is interesting. Well done indeed. Very classy!